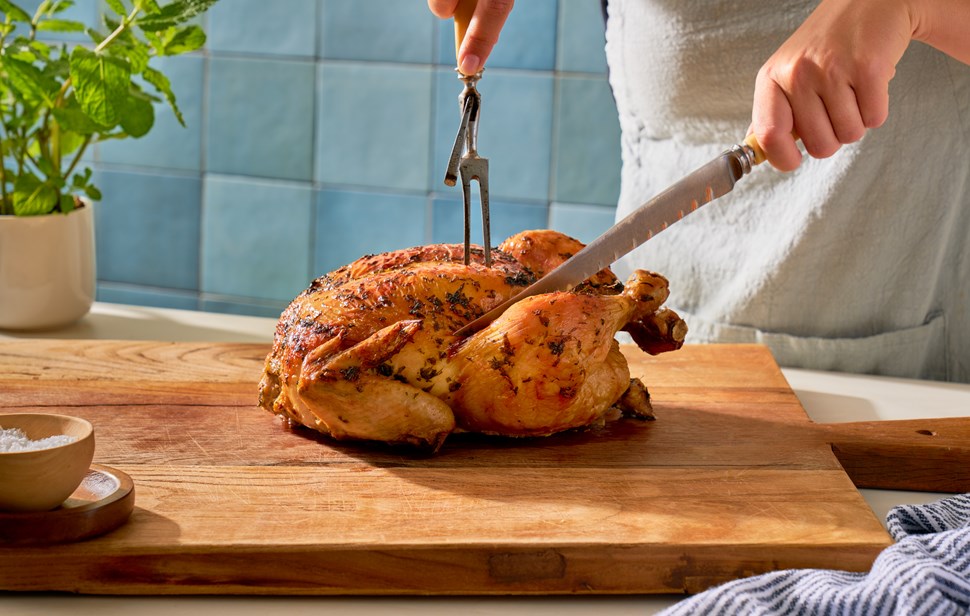
Carving Chicken
Carving a roast chicken can be super simple if you follow a few key steps; make sure to always rest your chicken after roasting, use a sharp knife when slicing and always take your time.
Tools:
How to carve:
- Start by carving off the legs. Using the sharp knife, slice through the skin between the breast and leg, cutting down towards the chopping board. Quite often the leg will separate easily and you’ll just need to cut through the skin to separate the legs from the rest of the roast chicken.
- To separate the drums from the thighs, place them on a cutting board skin-side up and cut the drumstick off at the thigh joint. If required, use your hands to pull the drumstick toward yourself to find the joint, a sharp knife should cut through the joint easily.
- Next, carve the wing off of the chicken where the joint meets the base of the breast, in a similar way to how you removed the legs and drums.Cut as close to the breast meat as possible to separate.Repeat with the other wing.
- Next, carve the breast meat. Carve in the same direction as the breast bone using your sharp knife and carving fork to make even chicken slices. Repeat with the other side.
- There may be some meat on the underside of your chicken as well, which you can gently pull off with your fingers.
- Use every bit of the chicken and save the carcass to make chicken stock.
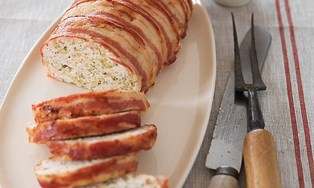
Try this with:
![]() Related Recipes:
Related Recipes:
![]() Related Products:
Related Products:


